
I wanted to research an easy way of creating every MIP level of a texture in Unreal (and any other engine), in such a way that I could create a unique image, or use custom filters or effects at every MIP level. This would let me create several effects, such as:
- Use custom filters where alpha is involved, such as chain-link fence or chicken wire, so that the wires look realistic as distance scales.
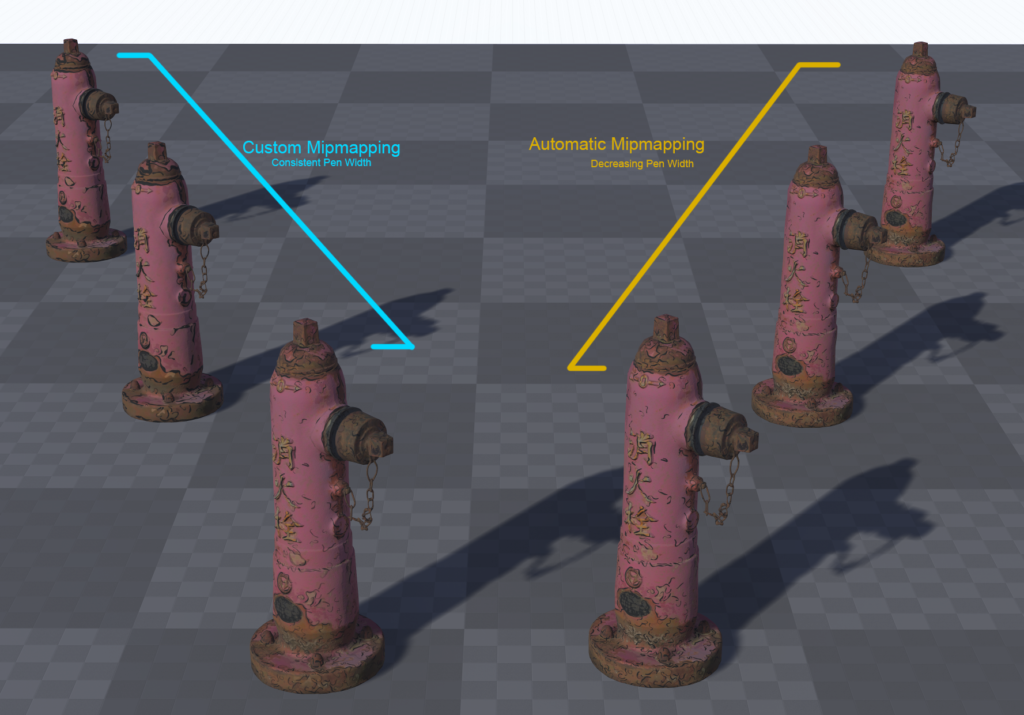
- Apply custom effects as things scale at distance, cheaply. For example, we could have a hand-draw sketch effect where pen width is more consistent at distance.
- Use custom filters where alpha is involved, such as chain-link fence or chicken wire, so that the wires look realistic as distance scales.
- Apply custom effects as things scale at distance, cheaply. For example, we could have a hand-draw sketch effect where pen width is more consistent at distance.
The advantage at doing this at a MIP level is that we can use a single texture sample, and the effect with automatically blend seamlessly without having to linearly interpolate between a whole bunch of texture.
I tried a whole swathe of tools and techniques, most of which have problems. I’ll cover these quickly, just so you don’t have to go down the same rabbit holes that I had to:
- Intel Texture Works plugin for Photoshop. This supports MIPs as layers, which is useful in some ways. However, it does not export to an uncompressed DDS (8bpc, R8G8B8A8), which means we cannot import it into UE4, which accepts DDS, but only uncompressed, as it applies compression itself.
- NVidia Photoshop Plugins. This supports uncompressed DDS export, but it supports MIPs as an extension to the image’s X dimension, in one image. This makes modifying individual MIPs very tricky if you want to automate the process using Photoshop’s Batch feature.
- NVidia Texture Tools. This doesn’t support MIP editing at all.
This leaves NVidia’s DDS Utilities, a legacy set of command-line tools. Turns out, these do exactly what we need, if we combine them with a bit of sneaky Python and DOS commands.
NVidia’s DDS Utilities
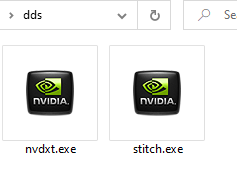
These utilities are just a bunch of executable files (.exe) that take some arguments and can combine images into MIPs for a single DDS.
With that all out the way, let’s get started setting it up.
Step 1: Prerequisites
Getting Python Packages
Step 2: Folder Setup
Next we’re going to setup our folder structure – we’ll use these as a cheap way of managing the pipeline. One day, I’ll manage it behind a UI, but that’s a lot of work for a niche use-case.
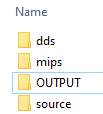
We’ll use four folders.
- “source” for source textures to generate MIP images from.
- “mips”, a directory to keep these new MIP images in.
- “dds”, where we’ll keep our files to let us convert our MIPs to DDS
- “OUTPUT”, for our DDS textures ready for our projects
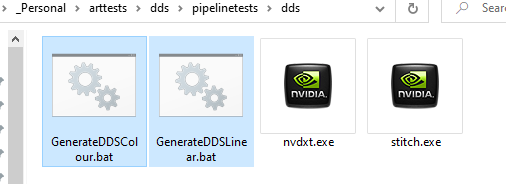
From your NVidia DDS Utilities installation path, copy these files into your /dds folder:
Step 3: Creating MIP Images
Now we can start. The first step is to create a set of images for each MIP level, so we can manually edit each MIP image later.
To do this, we’ll use Python and the Python Imaging Library, and a batch file.
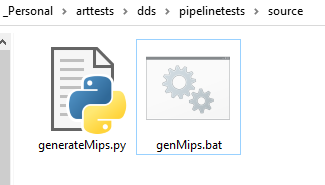
Head into the /source/ directory and create a new Python file, generateMips.py, and a batch file, genMips.bat.
First, let’s do the Python. Open the file in your favourite text editor, or IDE, and type the following:
import sys
from PIL import Image

droppedFile = sys.argv[1]

img = Image.open(droppedFile)

srcSize = img.size
path = "../mips/"
name = droppedFile.split(".")[0]
img.save(path+name+"_00.tif",format="TIFF")
mipNum = 1

print("Loaded "+droppedFile+", mipping...")

while srcSize[0] > 1 and srcSize[1] > 1:
    newSize=(int(srcSize[0]/2),int(srcSize[1]/2))
    resized = img.resize(newSize,resample=Image.BILINEAR)
    newName=""
    if mipNum < 10:
        newName=path+name+"_0"+str(mipNum)
    else:
        newName=path+name+"_"+str(mipNum)
    resized.save(newName+".tif",format="TIFF")
    srcSize = newSize
    mipNum=mipNum+1
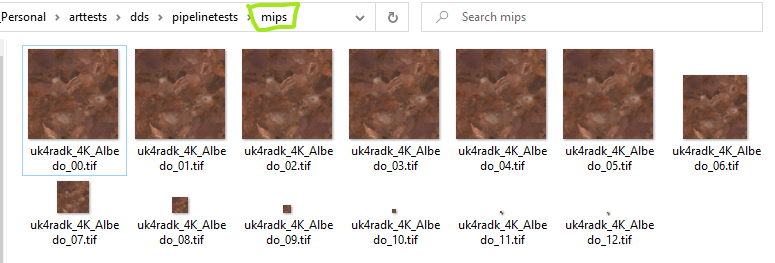
As you can see, nothing too scary. I simply create a new image file at half the resolution of the previous file saved, until we hit 1×1 pixel. You can choose a different a different resample if you want, but we’ll be manually changing the files, so for now, it doesn’t matter.
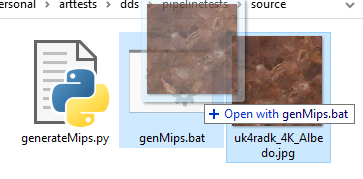
We take the image as an argument, this is so we can automate it externally if we want to – in our case, I want to make a batch file that I can drop a file on to and it will parse it with the Python script.
In the batch file add this:
generateMips.py %~nx1
pause
This will take whatever we drop on top of the batch file and make new images for each MIP level in the /mips/ directory. Give it a go.

Step 4: Edit MIPs
This part is on you. You can edit your MIPs as you like.
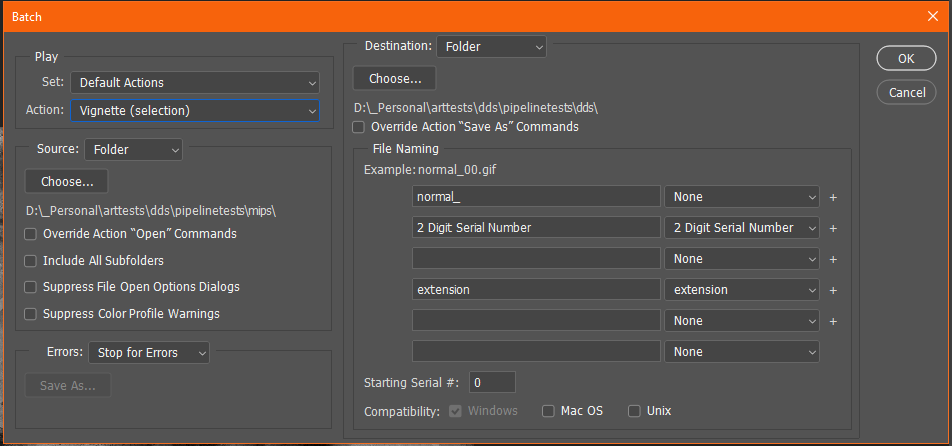
One suggestion, if you want to use a filter is to create an Action in Photoshop, and use File->Automate->Batch to apply that action and save out. The important thing here is that your file had just one underscore, before the MIP index, for example
My output goes into the /dds/ folder, this is where you want your modified MIPs.
Step 5: Generate DDS
In that output, create two batch files – we need two as one is for Linear textures (for masks, etc.) and one for sRGB/gamma corrected for albedo and colour textures.
Create two batch files from your text editor/IDE called:
Here is the content for GenerateDDSColour.bat:
nvdxt -quality_normal -nomipmap -pause -all -u8888 -gamma .\dds_dir
set str=%~n1


for /f "tokens=1,2 delims=_" %%a in ("%str%") do set stitchName=%%a&set sfx=%%b
echo.stitchName: %stitchName%

stitch %stitchName%

md   "..\OUTPUT" >nul 2>&1
copy %stitchName%".dds" "..\OUTPUT"
del %stitchName%*
pause
and this into GenerateDDSLinear.bat:
nvdxt -quality_normal -nomipmap -pause -all -u8888
set str=%~n1


for /f "tokens=1,2 delims=_" %%a in ("%str%") do set stitchName=%%a&set sfx=%%b
echo.stitchName: %stitchName%

stitch %stitchName%
md   "..\OUTPUT" >nul 2>&1
copy %stitchName%".dds" "..\OUTPUT"
del %stitchName%*
pause
As you can see, the only difference is the -gamma flag for gamma correction. That’s all we need.
Its worth noting, those scripts will delete the images processed in the /dds/ folder, to keep it clean.
Populate the folder with your edited MIPs, then, based on whether the image is gamma corrected, drag it on to the correct batch file and you should get a DDS in your /OUTPUT/ folder (for normal maps, you’ll want to use linear, for what its worth).
You can then import this into UE4 or other engine of your choice.