Table of Contents
Blueprints
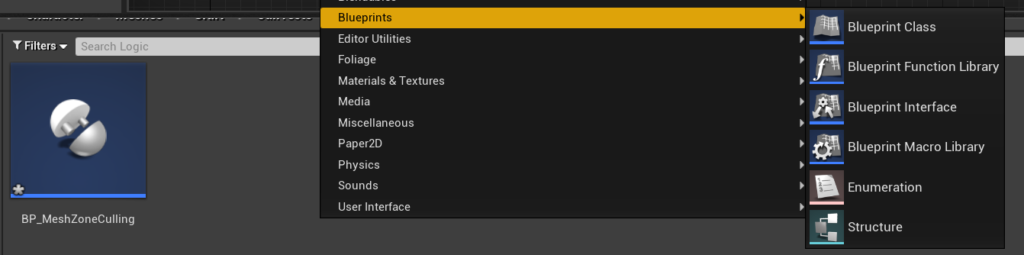
First, create a new Actor Component Blueprint
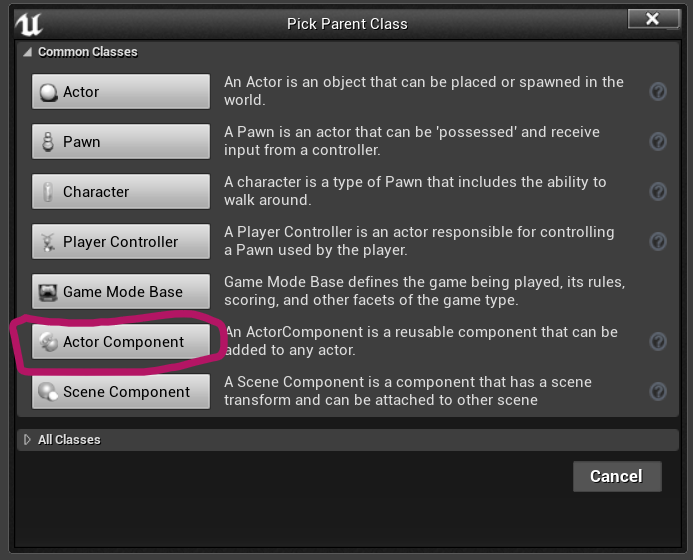
Call it “BP_MeshZoneCulling” and open it up…
Next to it, create a Enumeration, call that “ENUM_Cullzones”
Open up the Enumerator and add in 24 rows (for UE4, in Unity you’ll have to do this in C# and have up to 32), and check the Bitmask flags option. Name each of the Display Name fields appropriately, like so:
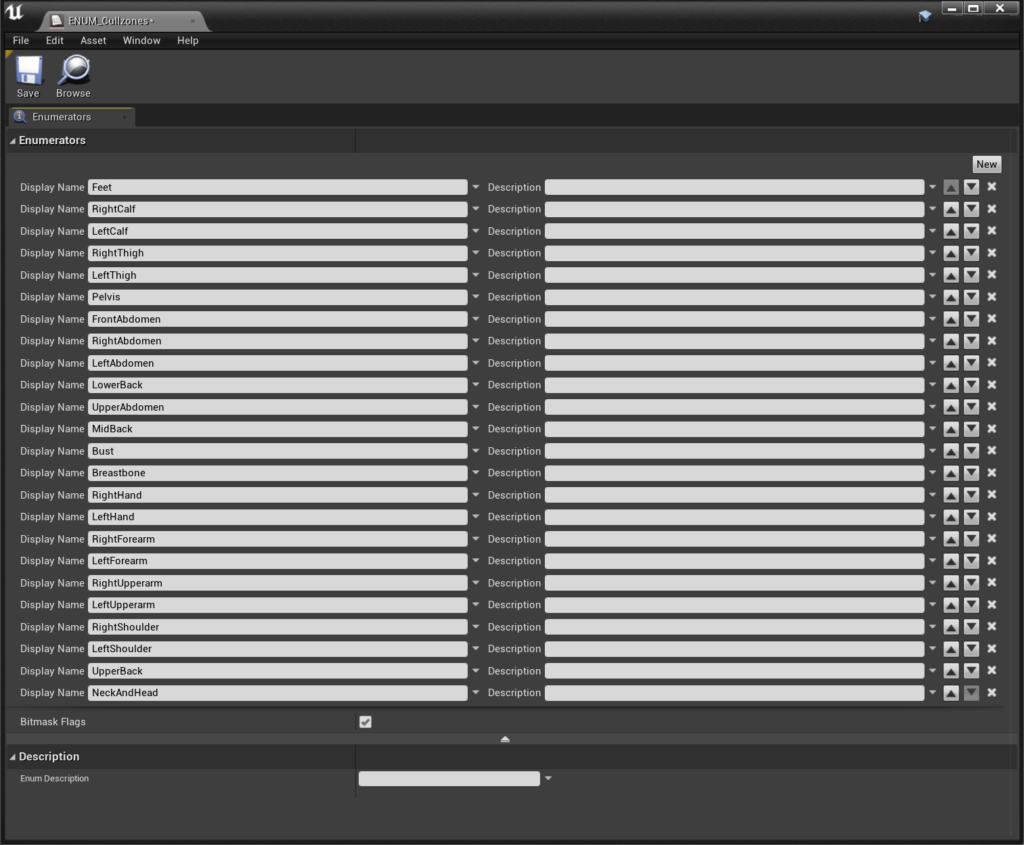
The important thing here is the order – it must match the order of your zones in your UV set. Save it and open our Blueprint.
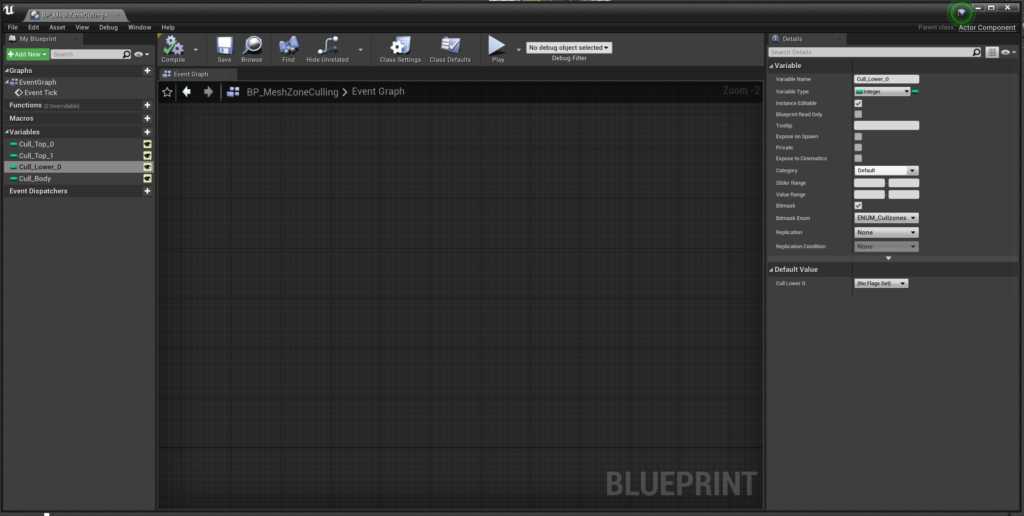
In the Blueprint, create a new integer variable and set it to be a Bitmask and the Enum to be your new Enumeration in the Details Panel. Make it public by checking the “eye” icon. Duplicate this for every layer of clothing you have, and the Body:
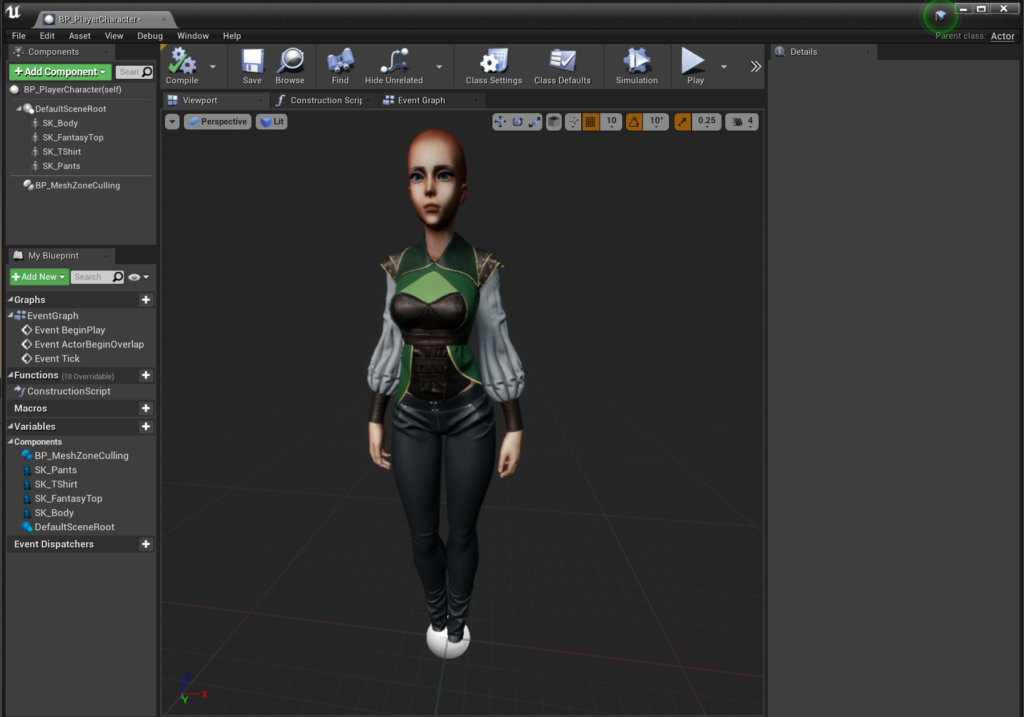
Next, Create a new Actor Blueprint for your character. Add in a new Skeletal Mesh Component for each layer of clothing, and one for your base character. Also add in our new Actor Component.
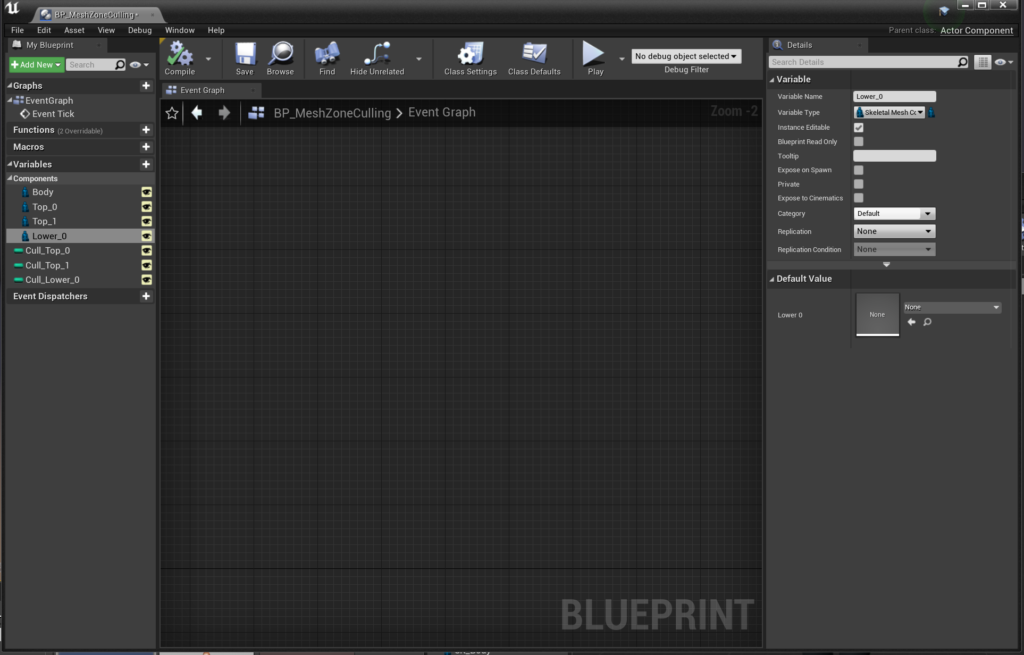
Go back into the Actor Component and add in a new variable for the body & clothing skeletal meshes, like so:
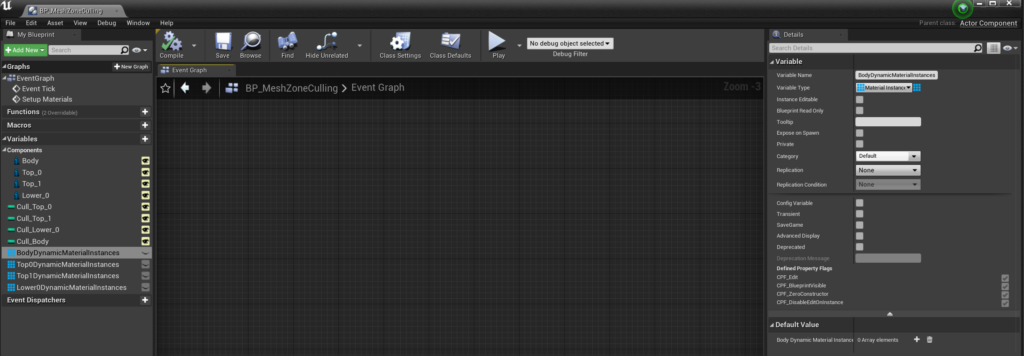
Whilst you’re here, add in 4 Dynamic Material Instance arrays to the variable list. To be able to edit our Materials from the BP we need to use Dynamic Material Instances:
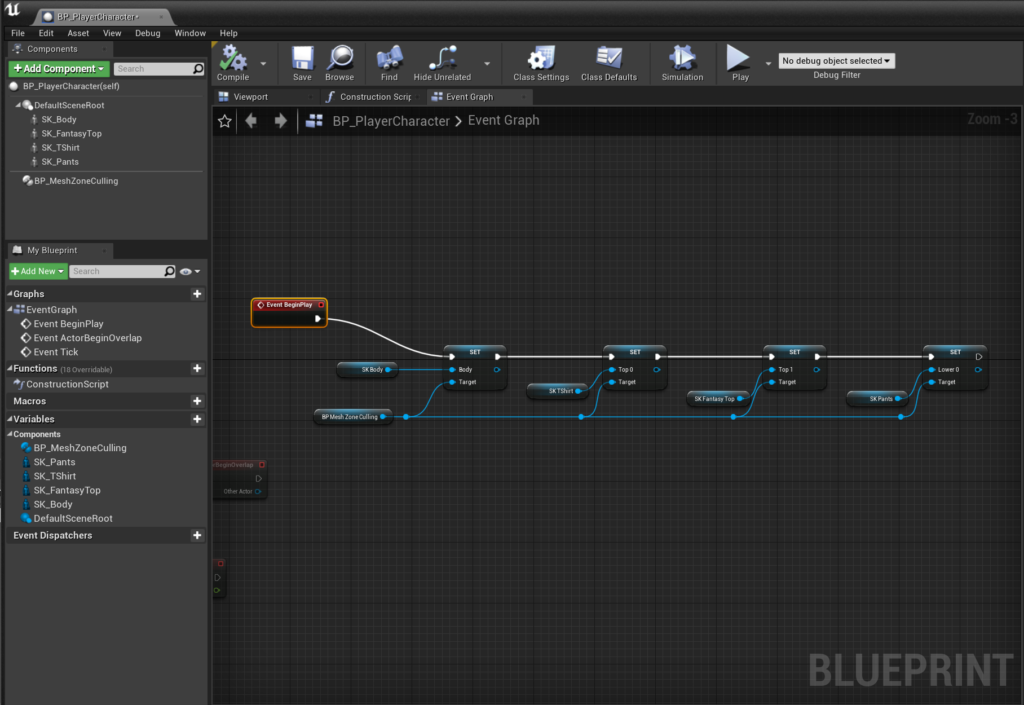
Back into the Character Actor now, head into the event graph and add in the following logic – it assigns your skeletal mesh components into the corresponding variables in the Actor Component:
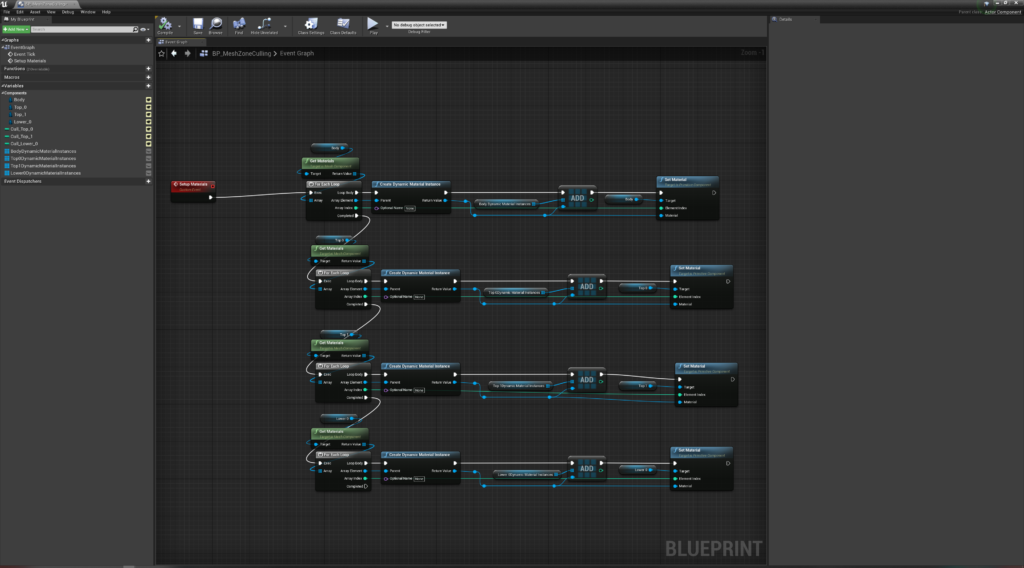
Return into the Actor Component and hook up the following logic on a custom event “Setup Materials”:
Quickly, back into the Player Character Blueprint and hook up your event to run after the Being Play has finished, like so:

Finally now – back into the Actor Component. Under Event tick, hook up your Dynamic Material Instances to update every frame:
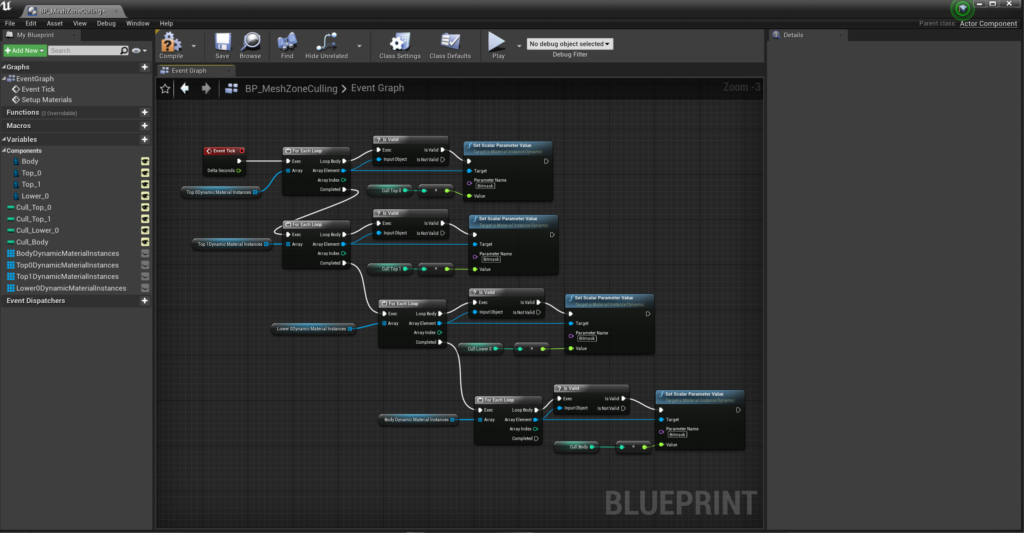
Obviously, you’ll want to run the Event off something other than Tick, but this is just to get you going.
This takes the bitmask values you’ve defined and pushes those through to the Materials.
You can now put your Actor BP into the level, hit Play and start testing.
This should be enough to get you going. You can create Databases in Unreal Engine 4 to store all the culling zones data, and you can expand the logic of the system to sensibly know which areas to hide on the skin and which to not.