Table of Contents
Unreal Engine 4
Now we move into the next stage. We now need to do the following:
- Create a shader than can dynamically cull mesh, based on a bitmask value
- Create a Blueprint that can send and update the bitmask value, based on user input
- Create a Blueprint that will propagate bitmask values so that layers of cloths all appropriately cull other meshes
The Shader
We’ll start by setting up a Material in Unreal that exposes the properties we need for each piece of clothing, then we’ll create Material Instances off this for each piece of clothing/mesh – this is standard practice in UE4.
For Unity you would need to make a Shader using this approach, then create Materials using that base Shader for each mesh. Its the same process, just different terminology between the engines.
Start off by adding Texture Parameters for each of your texture maps. You can do these however if you wish, i.e. if you have certain features such as re-colouring, etc., then add these in here.
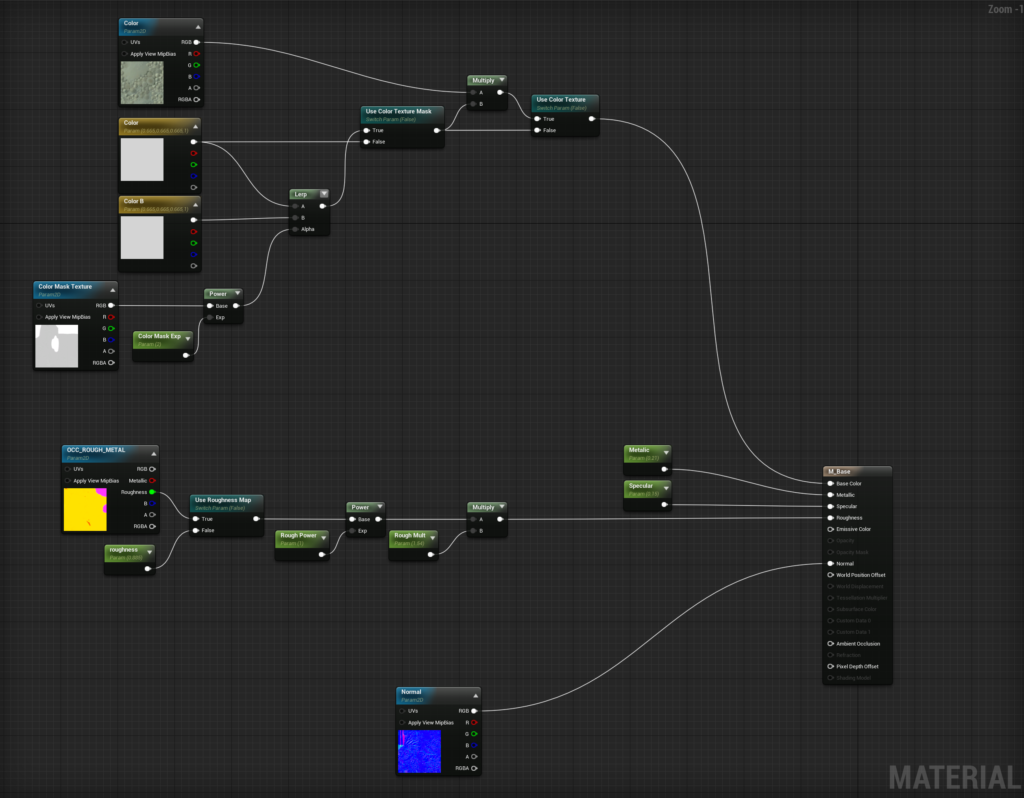 Basic Material implementation for the green t-shirt
Next, create a Material Instance for every Material you need, then apply it to your meshes.

Here I have one Material for the skin, one base material for the clothing – all the clothing materials are instanced from this base material.
Next, create a new Material Function, we’ll call this “MF_Cullzone”.
In this, create the following graph:
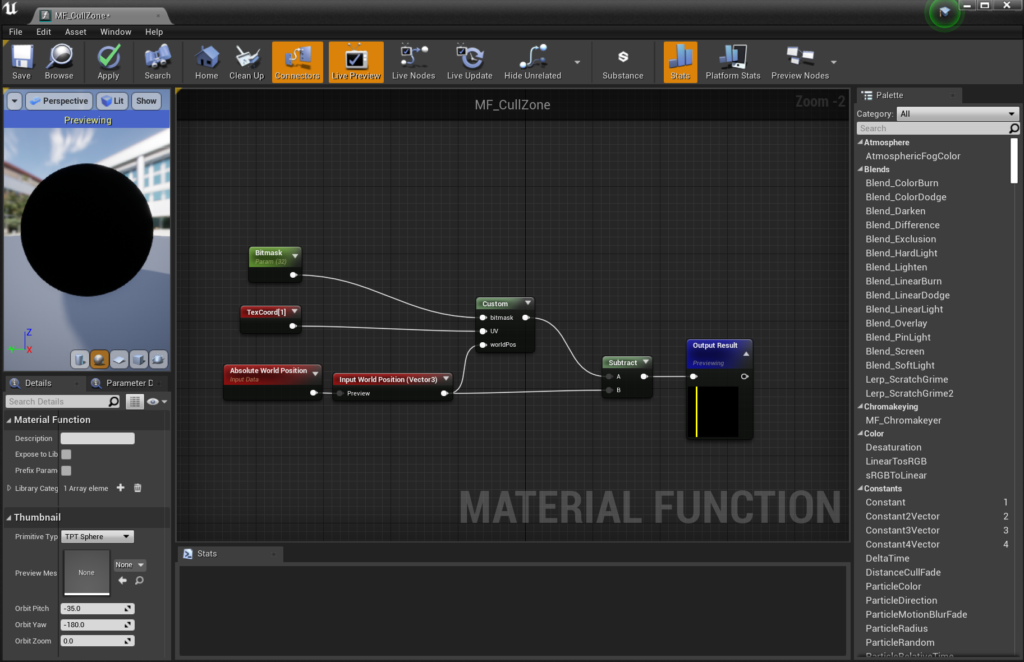
In the Custom node, add in the 3 Inputs you can see, then paste this code into the Custom node:
if(bitmask > 0)
{
	// 2^32 is the most we can do with a 32-bit signed integer
	int maxPower = 32;
	float uvCoordRange = 1.0 / maxPower;
	int a = int(bitmask);
	for(int i = 0; i < maxPower; i++)
	{
		if(a & 1 << i)
		{
			if(UV.x > i * uvCoordRange && UV.x < (1 + i) * uvCoordRange)
			{
				return worldPos / 0.0;
			}
		}
	}
}

return worldPos;
This code takes our bitmask value and checks to see if our UV sits within that value. For example, if our bitmask value is 3, this equates to:
0000 0000 0000 0000 0000 0000 0000 0011. We therefore check if our UV is in the first or second zone in our UV mask – UV.x range 0.0 – 0.0625. If it is, we divide its position by 0.
The “World Position” input node allows you to pass through an existing World Position Offset, in case you need to for a different effect.
Save this Material Function and then hook it up into the World Position Offset node of all your base materials:

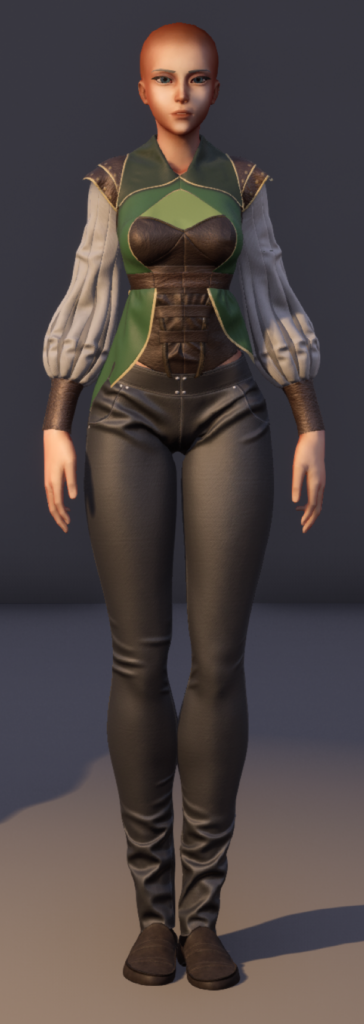
Now head into your Material Instance and crank up/down that bitmask value:
Here’s a quick example of the values working:
Now on to the final part: