
We now need to write out our sRGB values to an image. We installed Pillow in the introduction, so import that now.
from PIL import ImageBelow our sRGB conversion loop in the Generate() function
img = Image.new('RGB', (21,5), color = 'black')
pixels = img.load()
img.save('skin_LUT.png')
pixel_index = 0
for m in range(7):
for x in range(3): # 0 - 32
for y in range(5): # 0 - 32
xCoord = x + (m * 3)
yCoord = y
pixels[xCoord, yCoord] = pixelsRGB[pixel_index]
pixel_index = pixel_index + 1
img.save('skin_LUT.png')
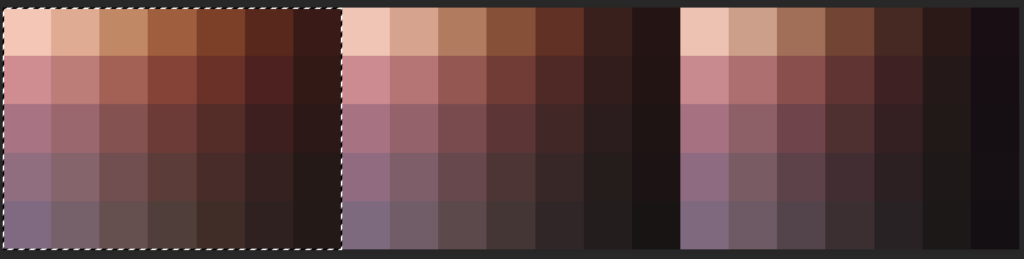
return pixelsRGBIf you now run the code you should get this PNG output – its small, so I’ve zoomed in:
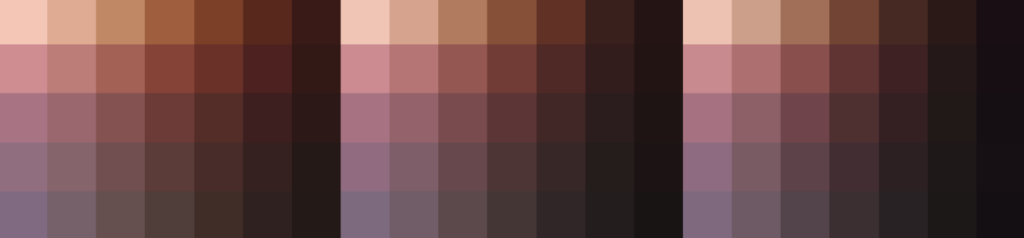
We obviously want more fidelity. We have two options: increase the samples (which is an exponential performance cost), or just use Photoshop to resize it. We’ll do the latter as its much faster, as gives us enough gradation.
To do this, we need to select each 1/3 of the LUT, which is each melanin blend and resize it using a “bicubic smoother” filter to smooth the gradations out, like so:
1. Select the first 1/3:
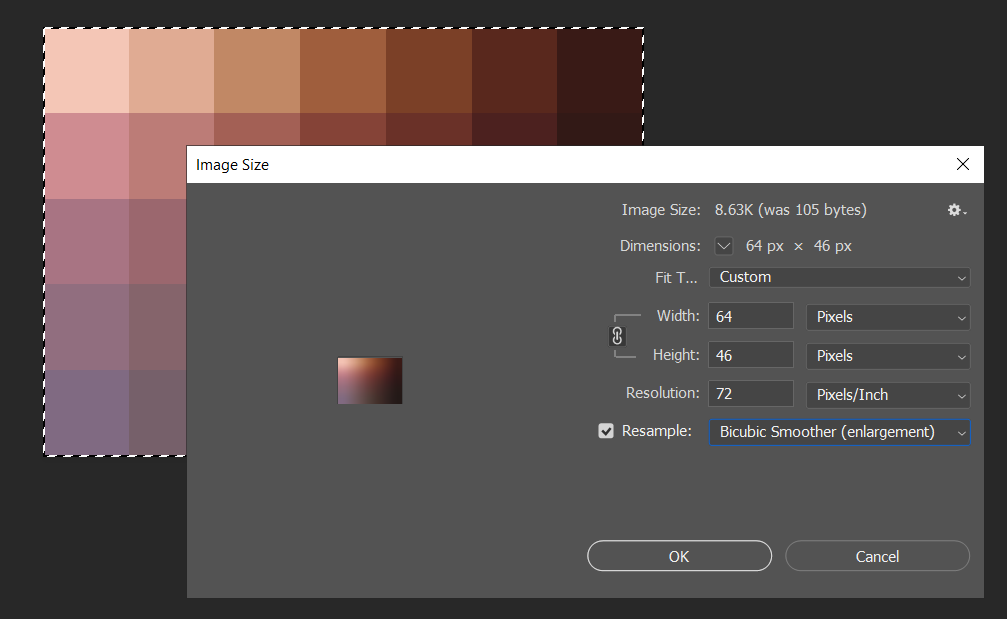
2. Copy it to a new image and resize
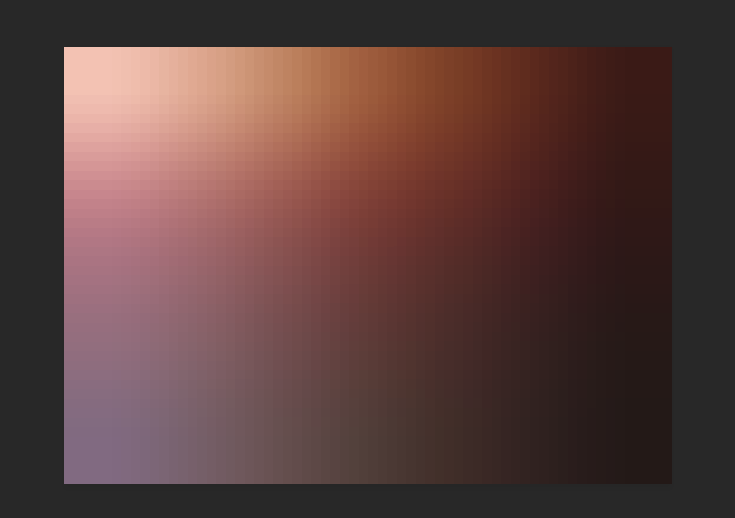
3. Repeat for the other two LUT sections, then composite them into a new 192*46 pixel image

Great! You have got yourself a look-up texture based on physical spectral absorption values!
For reference, here’s the complete project so far:
Next we’ll be getting this into Unreal Engine 4.