Table of Contents
Introduction
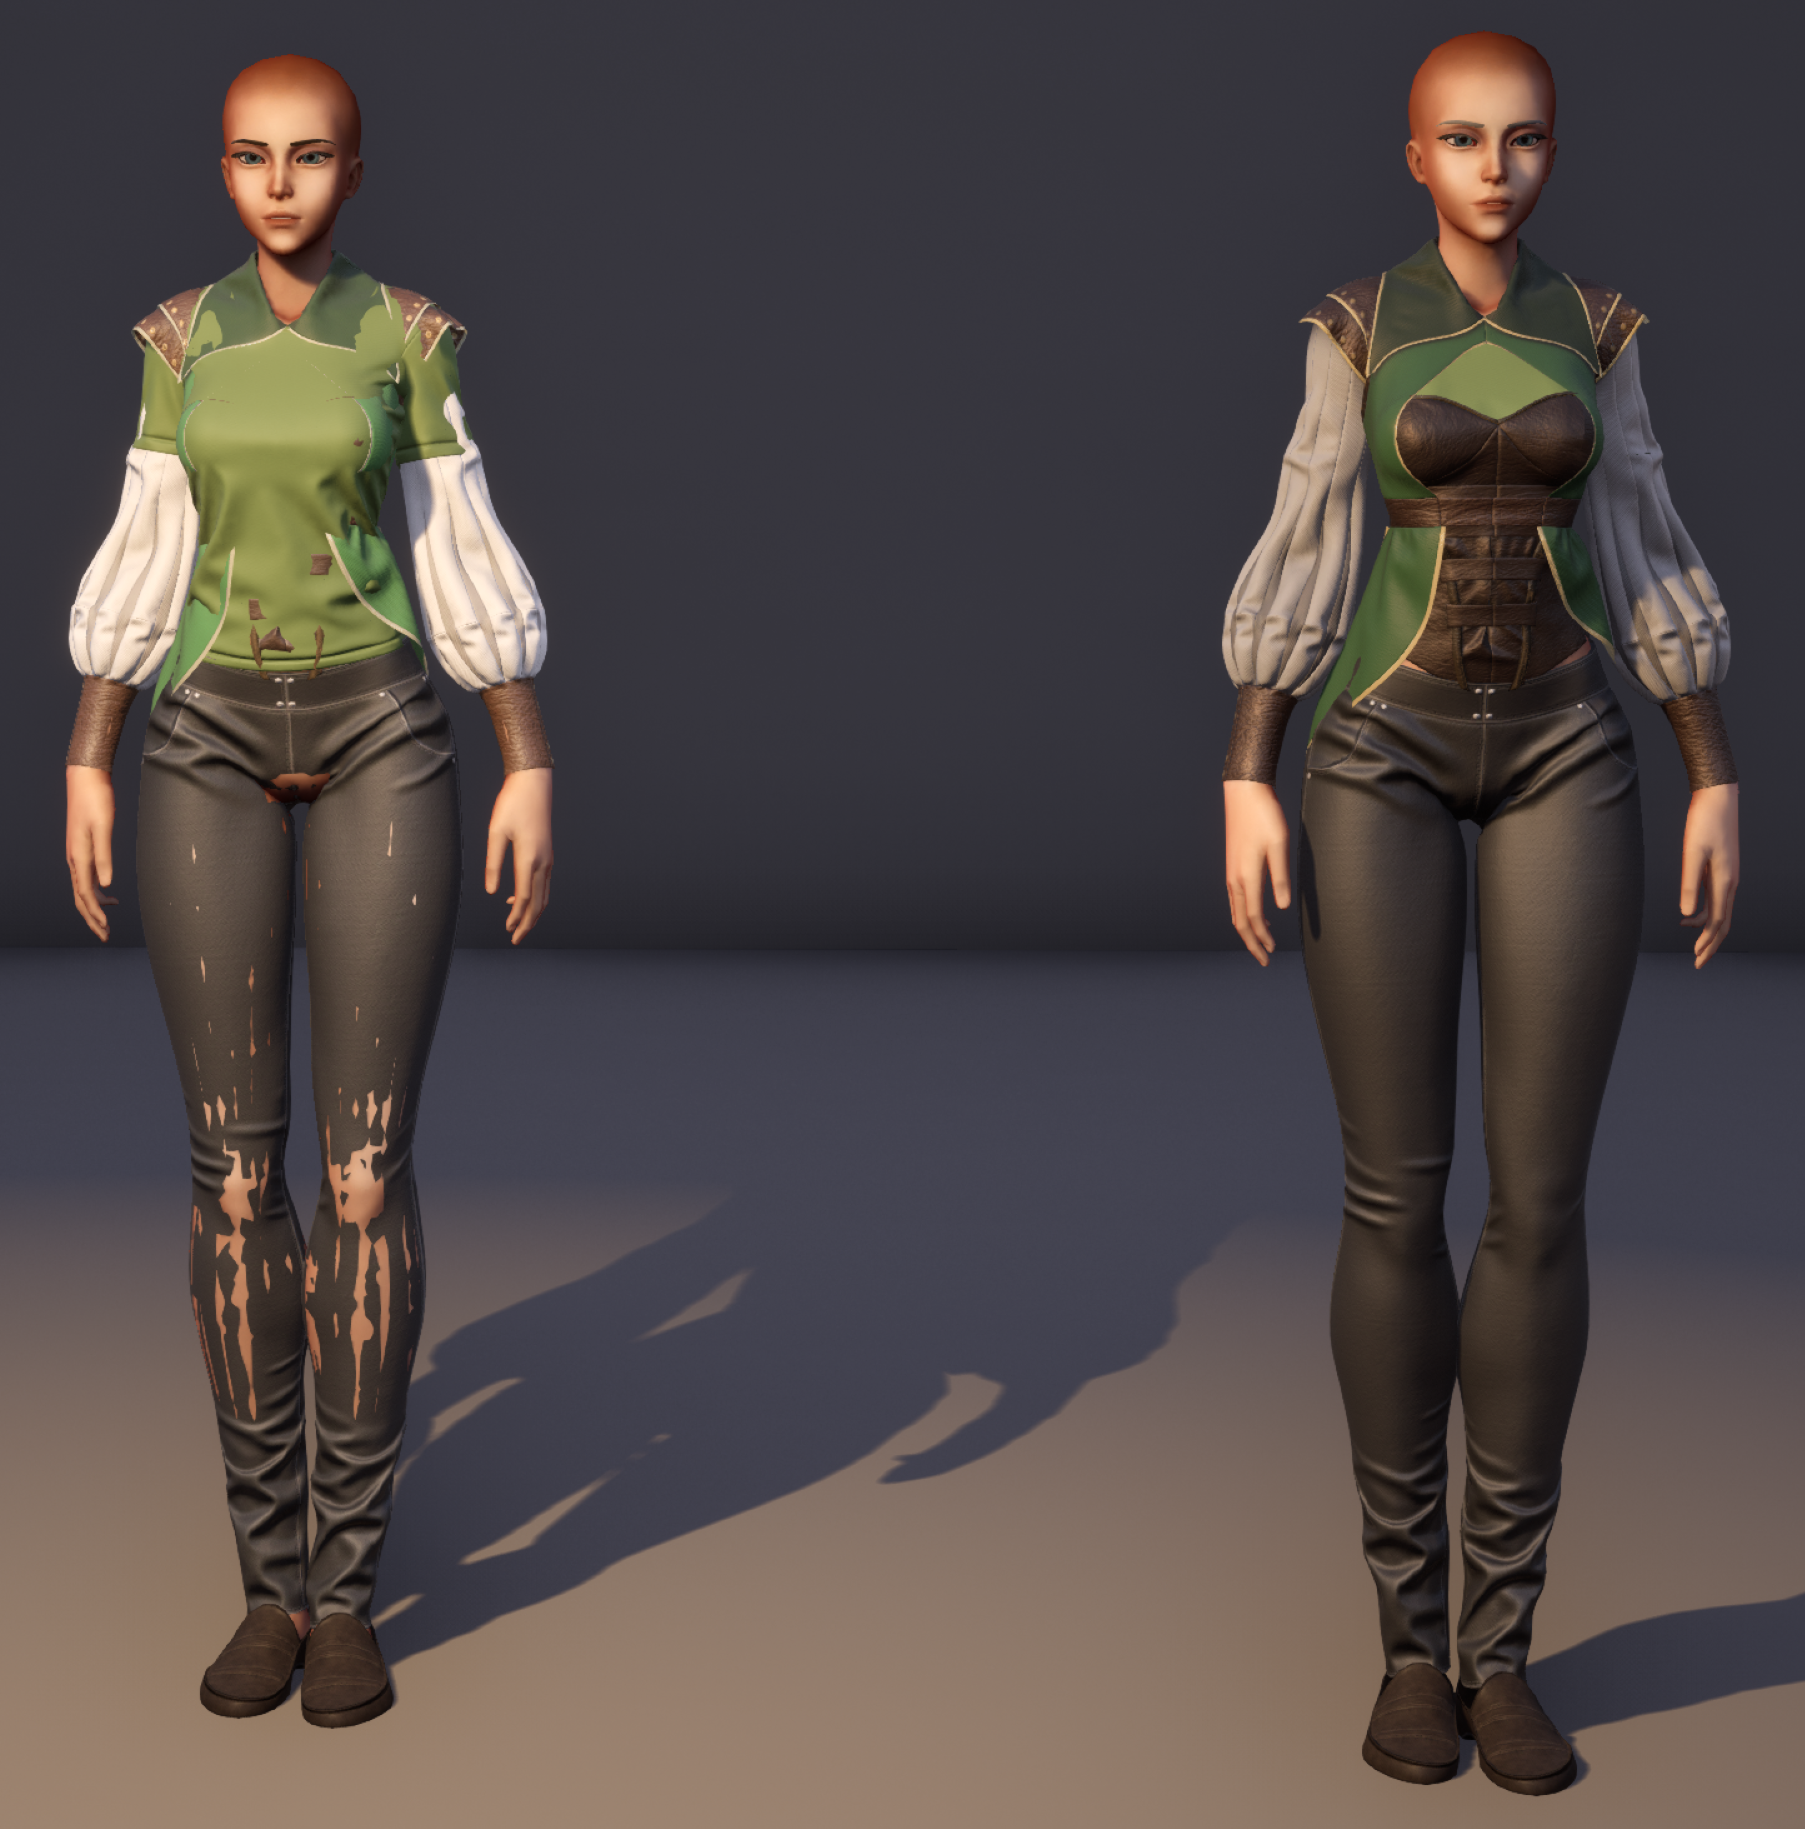
When developing characters with multiple layers of clothing, it is very possible you’ll end up with this sort of issue:
As you apply layers of clothing, you may find that the layers intersect and clip.
What you’d really like this:
A common approach to solve this is to develop all the mesh combinations you need as separate meshes, like so:

This can lead to restricting clothing designs and shapes and colossal amounts of geometry files to cope with all the variations.
But there is a better way!
One solution I’ve found particularly interesting is how Star Citizen handle it. They break their clothes down into sections that can each be toggled on/off as needed, based on the combination of clothing applied.
I will now show you how to implement such a system in Unreal Engine 4 (though the approach is completely doable in Unity, too). This system will enable you to layer up clothing and hide any sections of those layers so that they no longer clip. The system is flexible and supports, in theory, an infinite amount of culling zones (although, that might become unmanageable from an artists’s workflow perspective).
Performance cost should also be improved. Although all your vertices will be processed, they won’t need drawing. As a result you’ll have less to draw, less to light and less to process overall.
Requirements
We’ll need a few things to get started.
- Unreal Engine 4. Any recent version should do
- A modelling tool. We’ll be using Maya here, but as long as you can have multiple UV sets/channels, you’ll be good
Preparation
We’ll introduce you to a few topics in this tutorial that will make this process possible.
First off, we need to figure out how to cull parts of the mesh dynamically in a nice, optimised & efficient way, then we need to figure out how to define an area to cull and finally implement this in a nice way in Unreal Engine 4 so that an artist can control, per piece of clothing, which sections to hide underneath.
In order to figure out our best approach we need to consider the way we want to author the clothing content.
The desired workflow:
We want an artist to make a item of clothing, such as a leather jacket, a t-shirt or a vest as they normally would.
Import those as individual items into the game project.
Layer up the clothing.
Then, be able to configure each layer item with a value that tells our shader what parts of each layer to mask (all demonstrated in the Star Citizen video)
Some Theory
As discussed, it isn’t practical to pre-calculate variations of a mesh with every possible other combination of clothing layering. We need to be able to cull dynamically within a mesh’s vertex shader.
For culling, there’s a small feature within vertex shaders we can use to our advantage:
If a vertex’s position is either infinity or not a number (referred to as “NaN“), the renderer will just cull it. So, if we know which vertices the hide, we’ll be able to do that within the shader.
Dividing the vertices’ position by 0 will do just fine:
if(cullThisVertex)
{
    // Dividing by 0 is a great way to break a value
    // This vertex will no longer be drawn
    vertex.position = vertex.position / 0.0;
}
We know how to cull the vertices – but a larger problem is still looming: How do we know which areas to cull?
So, time to figure out how to define those areas to cull in the shader. We want a value we can provide to the vertex shader that will know how to cull each zone.
This is where bitmasks come in.
A Short Introduction to Bitmasks:
This part is heavy. Basically bitmasks allow us to manipulate the way computers store numbers in such a way as we can create a list of things to show/hide.
Tangent #1 – Bitmasks
There are two things to keep in mind:
- Modern consumer-grade GPUs only support 32-bit unsigned integers. This means that for each material on our character/clothing, we can only have 32 zones for culling.
- If you’re using Unreal Engine 4, you will be limited to 24 zones. This is because you can’t pass integers, or unsigned integers to a Material without modifying the Engine – you can only pass floats, which are stored differently in memory than integers.
You can get around these limitations by breaking your meshes up. For example, separate the head, upper and lower-parts of your body. This means for each of these, you get your full zoning allocation. For this to work, you can’t have single clothing pieces across these separations, such as with overalls or jumpsuits without additional work outside the scope of this tutorial.
Continue on to the next page: